I am so excited for Cars 3 and I can’t wait to go to Disneyland for the red carpet premiere of this movie. To get you all excited for Cars 3, here is a great recipe to make with your kids.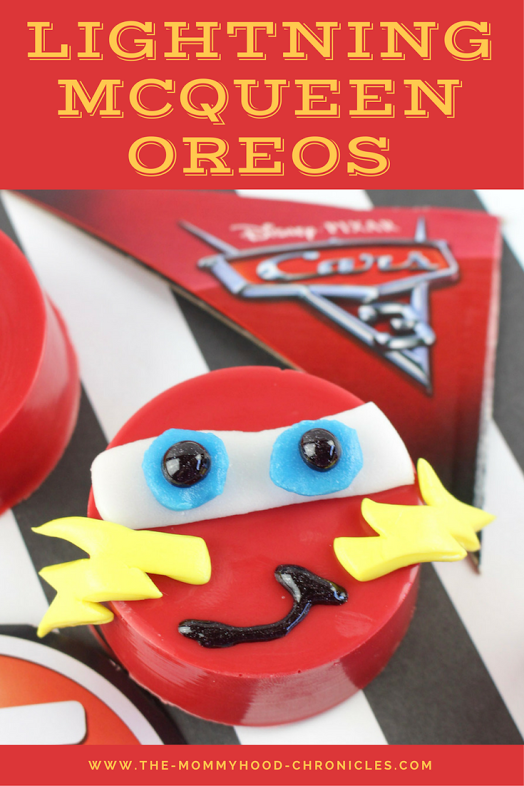
CARS OREOS:
SUPPLIES NEEDED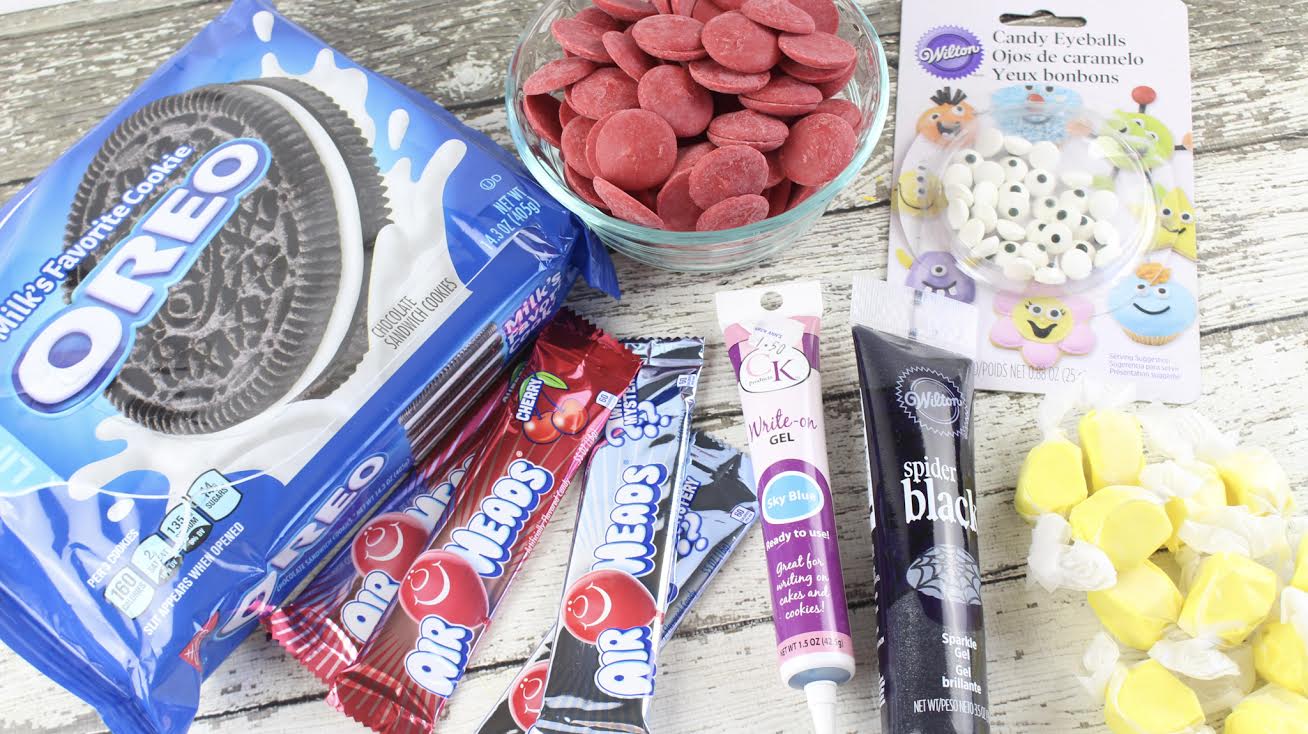
Cookie Mold
12 regular Oreo cookies
12 oz bag Wilton red candy melts
2 large white Airhead candies
2 large blue Airhead candies
20-22 yellow taffy pieces
Wilton black decorator icing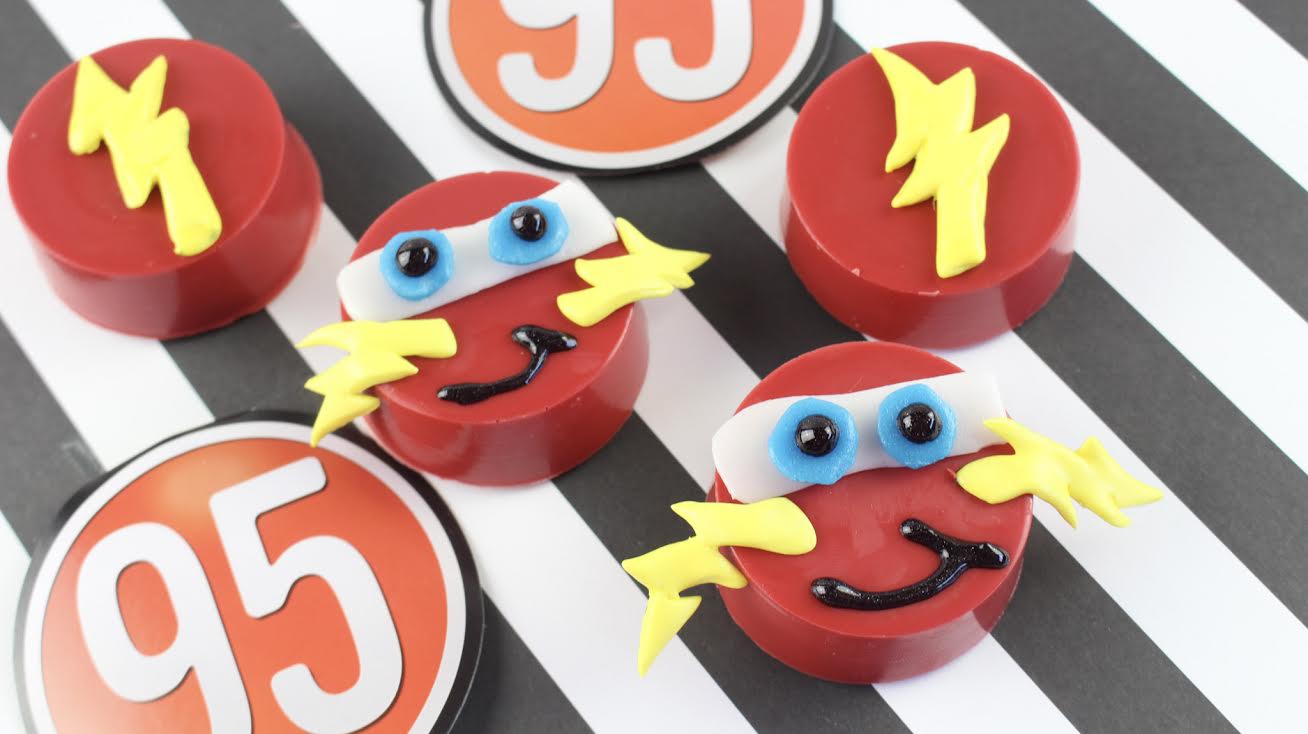
DIRECTIONS
1. In a double boiler pan (or Wilton candy warmer), heat the red candy melts under medium heat. Stir occasionally until melted and smooth.
2. Place 2 tablespoons of the melted red candy into each of the cookie molds.
3. Place an Oreo cookie on top of the melted red chocolate.
4. Cover up each Oreo cookie with additional melted red chocolate, up to the top of each mold.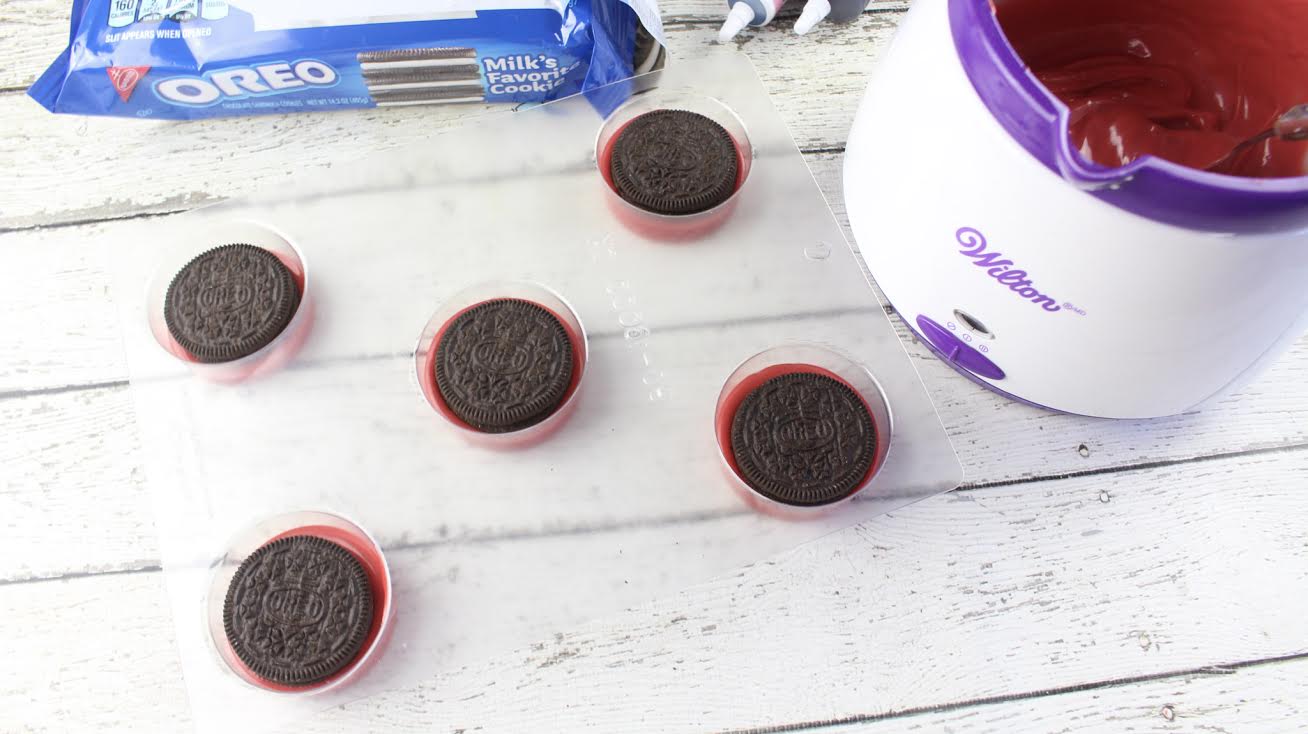
5. Chill for 45 minutes to allow the red chocolate to completely harden.
6. Unwrap the white Airhead candies. With a kitchen scissors, cut each piece in half. Then, cut all of the pieces in half, lengthwise. You should have 8 pieces (4 from each candy). Set aside.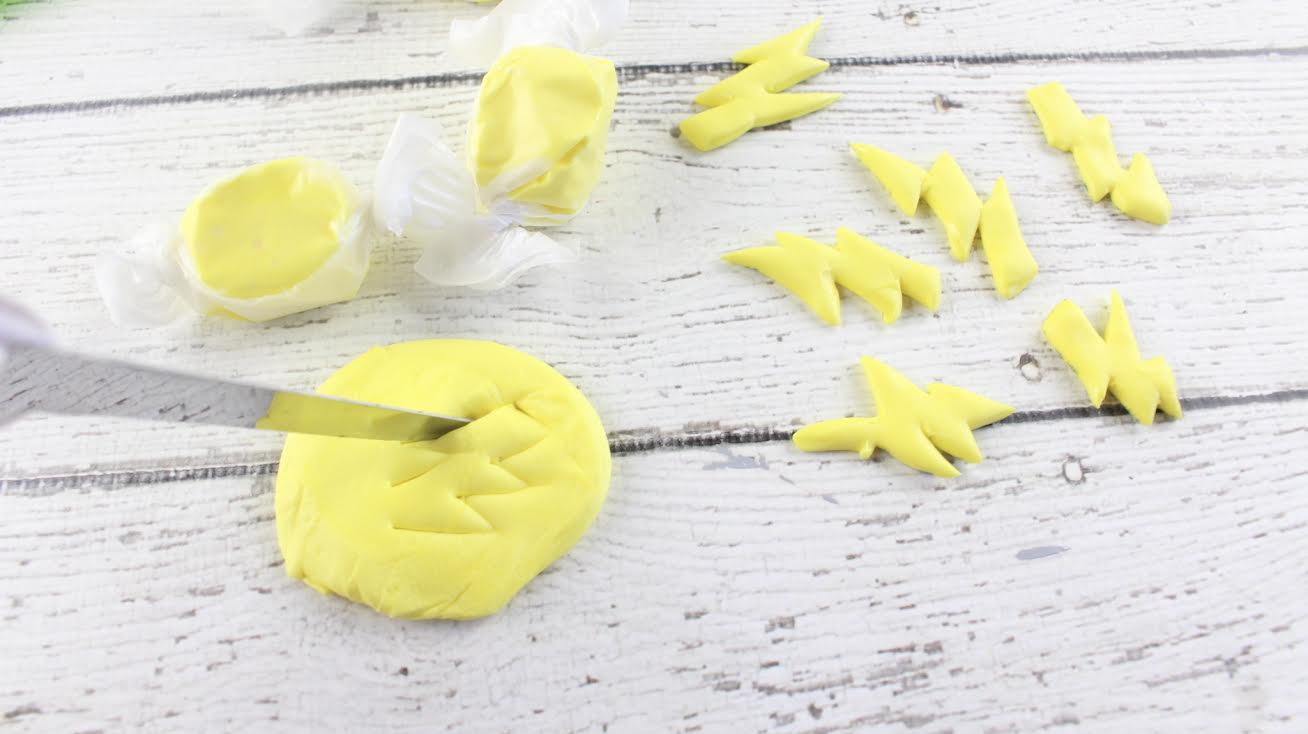
7. For the eyes, cut out 8 small circles from each blue Airheads piece for a total of 16 circles. Set aside.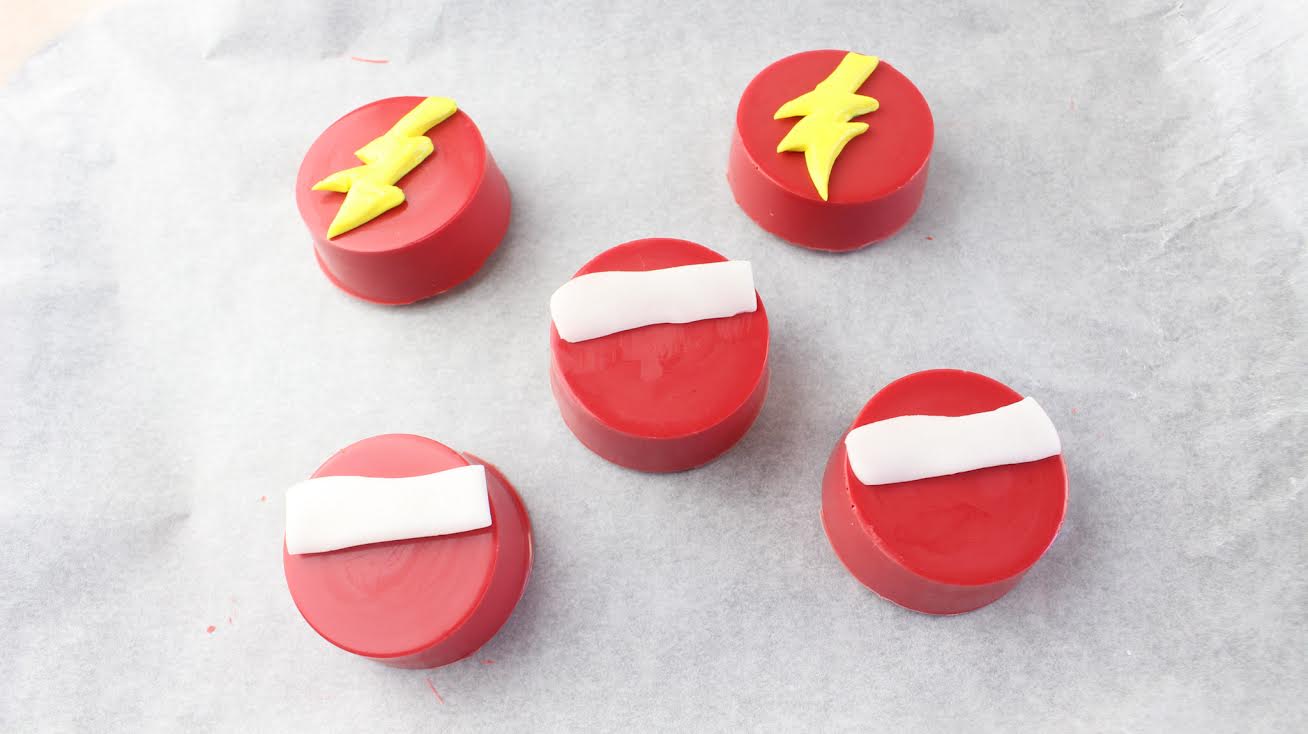
8. Unwrap the yellow taffy candies and place on a hard surface . Using a rolling pin, press down firmly on each taffy piece to flatten.
9. Cut out 16 small lightning bolts and 4 large lightning bolts from the flattened taffy. You may find it easier to use a small scissors instead of a knife but either way works. Lay the lightning bolts on a tray lined with wax or parchment paper and chill for 15 minutes to harden the taffy.
10. Remove the chilled Oreos from the refrigerator and gently pop them
out of their molds. Place on a cookie sheet lined with wax or parchment paper.
11. For the windshield, apply icing to the back of each white airhead piece and place across 8 of the Oreos. You may have to cut the ends a bit to fit the length of each cookie.
12. For the eyes, dab a small amount of icing on the back of two blue airhead circles and place on each windshield. Pipe black icing in the middle of each eye for the pupils.
13. Apply icing to the back of the small lightning bolts and attach to each side of the 8 Lightning McQueen cookies.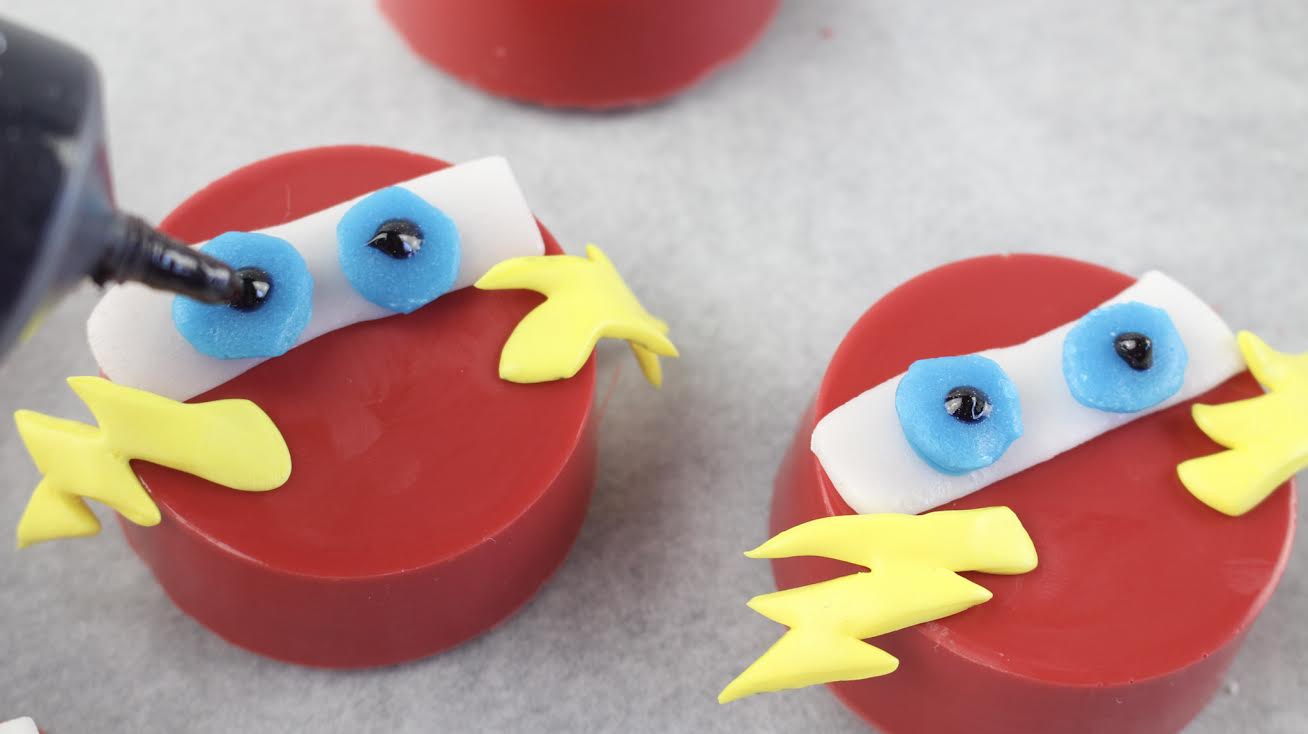
14. Pipe a smile with the black icing gel towards the bottom of each cookie.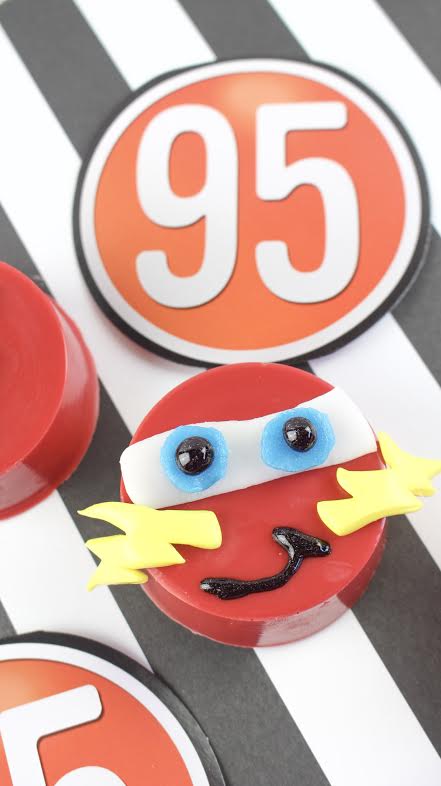
15. Apply icing to the back of the 4 large lightning bolts and place on top of the 4 remaining Oreos.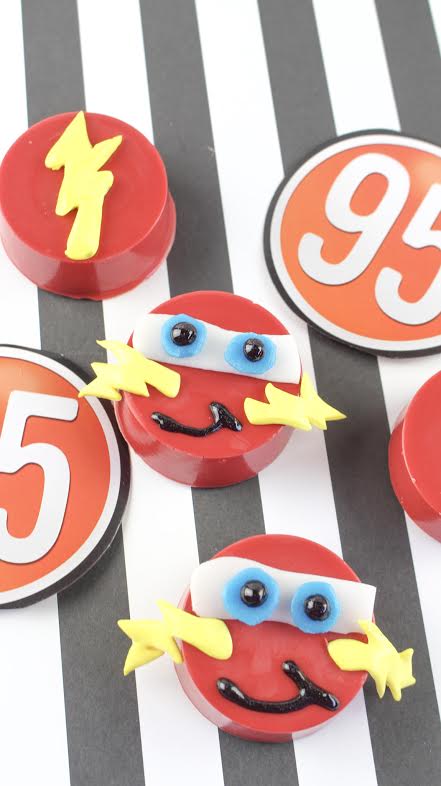
16. ENJOY!